16,494 total views, 2 views today
This is a continuation of the Logo Reveal with Particles tutorial, where instead of dissolving an image into particles, we reform the original by running the particle effect simulation in reverse. It also uses the script we made in the Rewinding Particle Systems tutorial.
You should review both of these before following this tutorial. Below is what we’ll be working on.
[IMAGE REMOVED]
Done checking out the tutorials? Good! You’ve probably pieced together that you have everything you need to make a logo reveal. All it takes is attaching the script you have for rewinding particle systems and attaching it to the logo reveal effect root object. We’ll really just be covering how to make the effect from the first tutorial more performant and ready for rewinding with.
You can also get away with just a video or spritesheet animation, but if you want the randomization and constant variance an actual simulation provides, this is the way to go.
Oh, by the way, I actually have a tool that can convert particle effects into spritesheets directly in Unity. You can check it out through the affiliate link below if you want (completely optional). 🙂
Let’s get started.
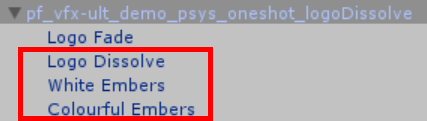
The initial logo fade will remain unchanged. It’s simple, short, and won’t even make a dent in terms of performance. We’re more concerned with the logo dispersal and two noise effects (see image below for which systems to edit).
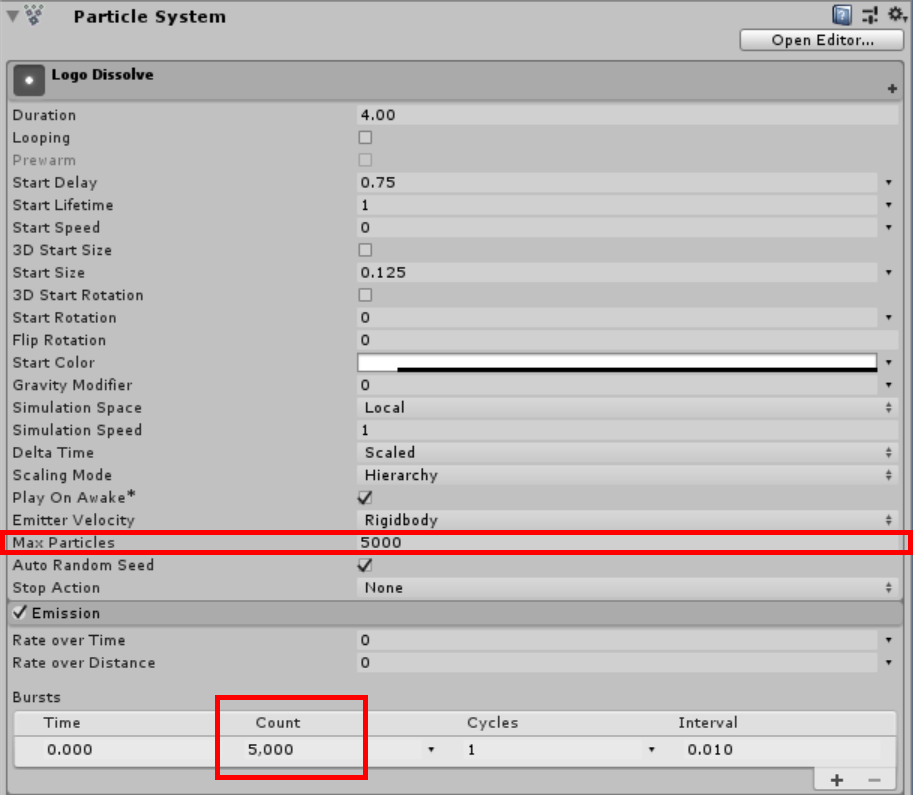
We’ll start with the initial logo dissolve particle system, where all we need to do is halve the Burst and Max Particle values (image below). Do the same with the remaining two noise systems, except instead of halving their values from 20,000 to 10,000, set the emission counts and maximums to 8,000. For the first noise system you’ll be changing the Burst Count, and for the second it’s the Rate over Time property.
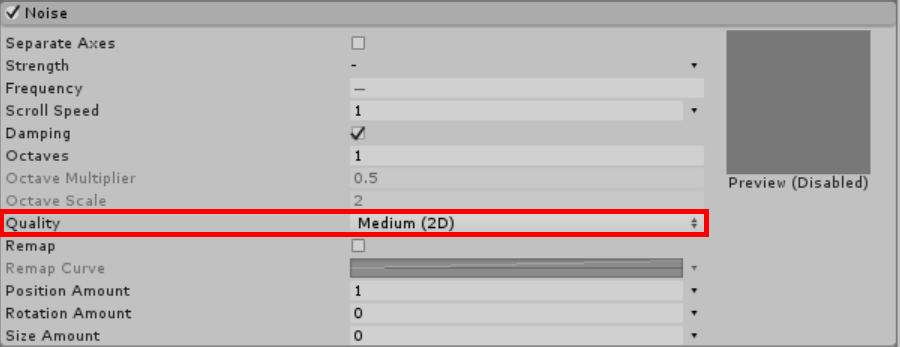
Now, with the two noise systems selected (see below – where I have both selected in the editor and the Preview is disabled), reduce the quality of the noise to Medium (2D). If you were trying to be more efficient during the first tutorial, you may have already done this.
That’s it!
As described, all we did was make the effect more performant by reducing particle counts and the quality of the noise they run through to 2D rather than 3D. You don’t have to use these values. You can play around with lower particle counts, 1D noise, etc. In fact, if your target hardware isn’t quite up to it, you may need to do a bit more reduction and tweaking, but it’s up to you.
[IMAGE REMOVED]